This tour features some of the main areas of VAT-Books. It includes the main window showing a list of purchases, the new purchase entry window, and shows the report wizard producing a VAT return…
Choosing a period
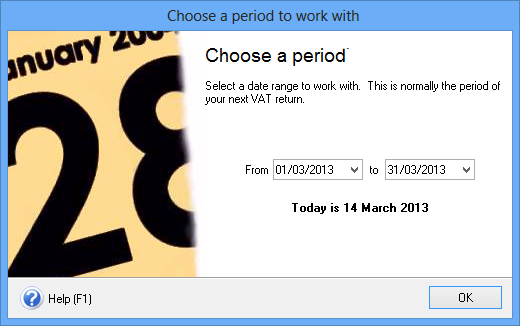
Choosing a period to work with
The first thing you do when VAT-Books starts is choose the period you want to work in.
This can be any range of dates you are interested in. It can be your VAT period, your full accounting year or any start and end date you want.
As VAT-Books is based around getting your VAT return done, we recommend you use your VAT period for day to day work.
The main window
List of sales and purchases
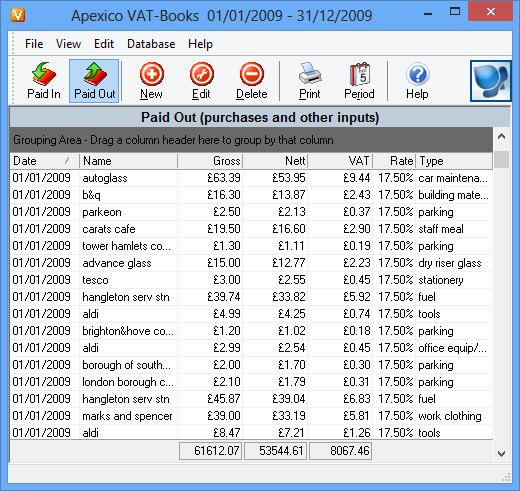
After you choose a period, the VAT-Books main window will list all the items paid in and out for that period. (these are mostly sales and purchases).
From this windows you can enter new sales and purchases, and edit existing ones.
You can view and print many reports, and export your data
This window allows you to change the order of columns in the grid, and sort your sales / purchases any way you want.
You can drag a column to the grouping area, to group the list by that column. For example if you drag the customer name column to the grouping area, VAT-Books will show all of the sales for each customer grouped together.
Adding a new item
Adding a new purchase
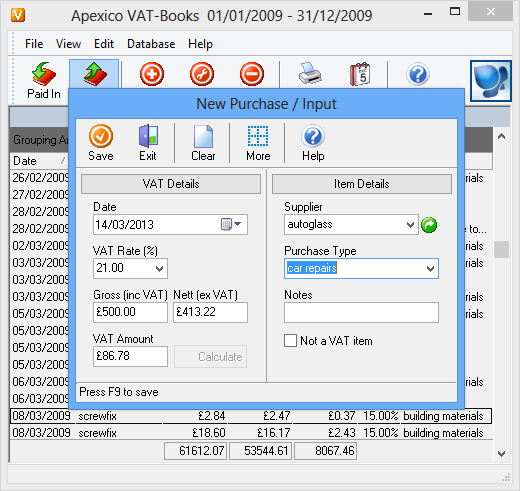
Use the New button in the main window to add a new sale or purchase item. This image shows the New Purchase window with a new purchase filled in.
Notice the Calculate button which you can use to perform various calculations. For example if you fill in a VAT Rate of 21% and a Gross amount (including VAT) of £500 and then click the Calculate button, VAT-Books will calculate the Nett and VAT amounts for you (£413.22 and £86.78).
This windows is very configurable. This company has hidden the VAT Number as they rarely use it, but if needed they can still enter a VAT number for this supplier by clicking the More button, to show the hidden details.
Printing a report – Part 1
The print wizard
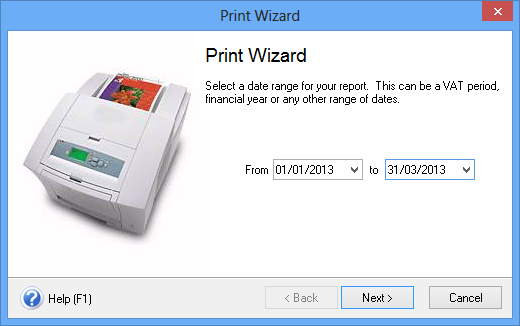
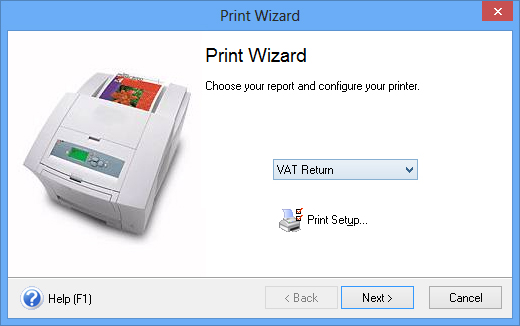
Clicking the Print button in the main window opens the Print Wizard. This simple wizard has two pages designed to help you produce reports easily.
The first page asks you for a period you want your report to cover. It will show the period you are currently working with, but you can choose another period for your report.
To choose the type of report to view, click the Next button.
Printing a report – Part 2
Printing a VAT Return
The second page asks which type of report you want to produce. I have selected the VAT return report but there are several other reports to choose from.
The Print Setup button allows you to choose a printer and access it’s setup options.
Or, just click the Next button to see your report.
Printing a report – Part 3
A VAT return report
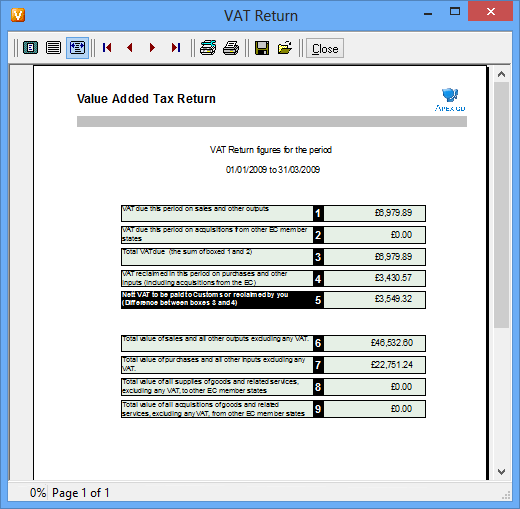
This image shows the print preview window, which shows our VAT return report as it will be printed.
From here you can either print the report or save it to disk. You can also open previously saved reports.
As you can see, if you want to do your bookkeeping and produce your VAT returns, VAT-Books makes the whole process as simple and fast as possible.
Download the VAT-Books demo now if you enjoyed this tour, and see for yourself how easy bookkeeping can be!